Accessing the Redmine Login Page
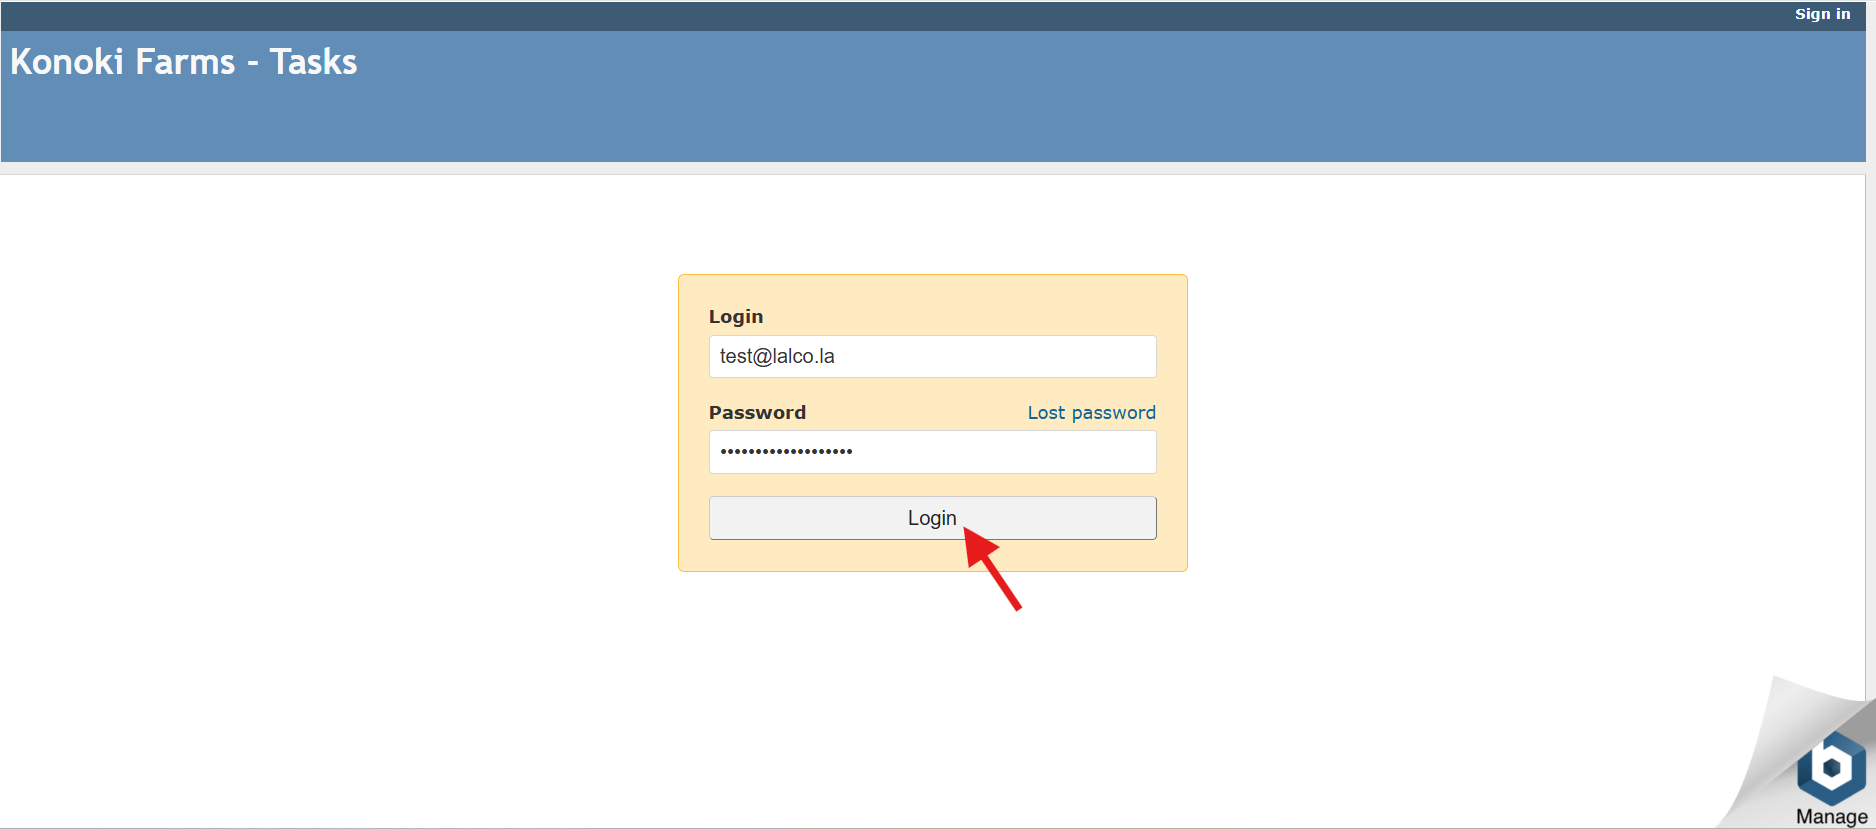
Accessing the Login Page
- Your organization's Redmine administrator will provide you with a specific web address (URL) for your Redmine instance.
- Open your preferred web browser (e.g., Chrome, Firefox, Safari, Edge) and enter the provided URL into the address bar.
- You should be directed to the Redmine login page.
URL : http://13.251.77.178/login
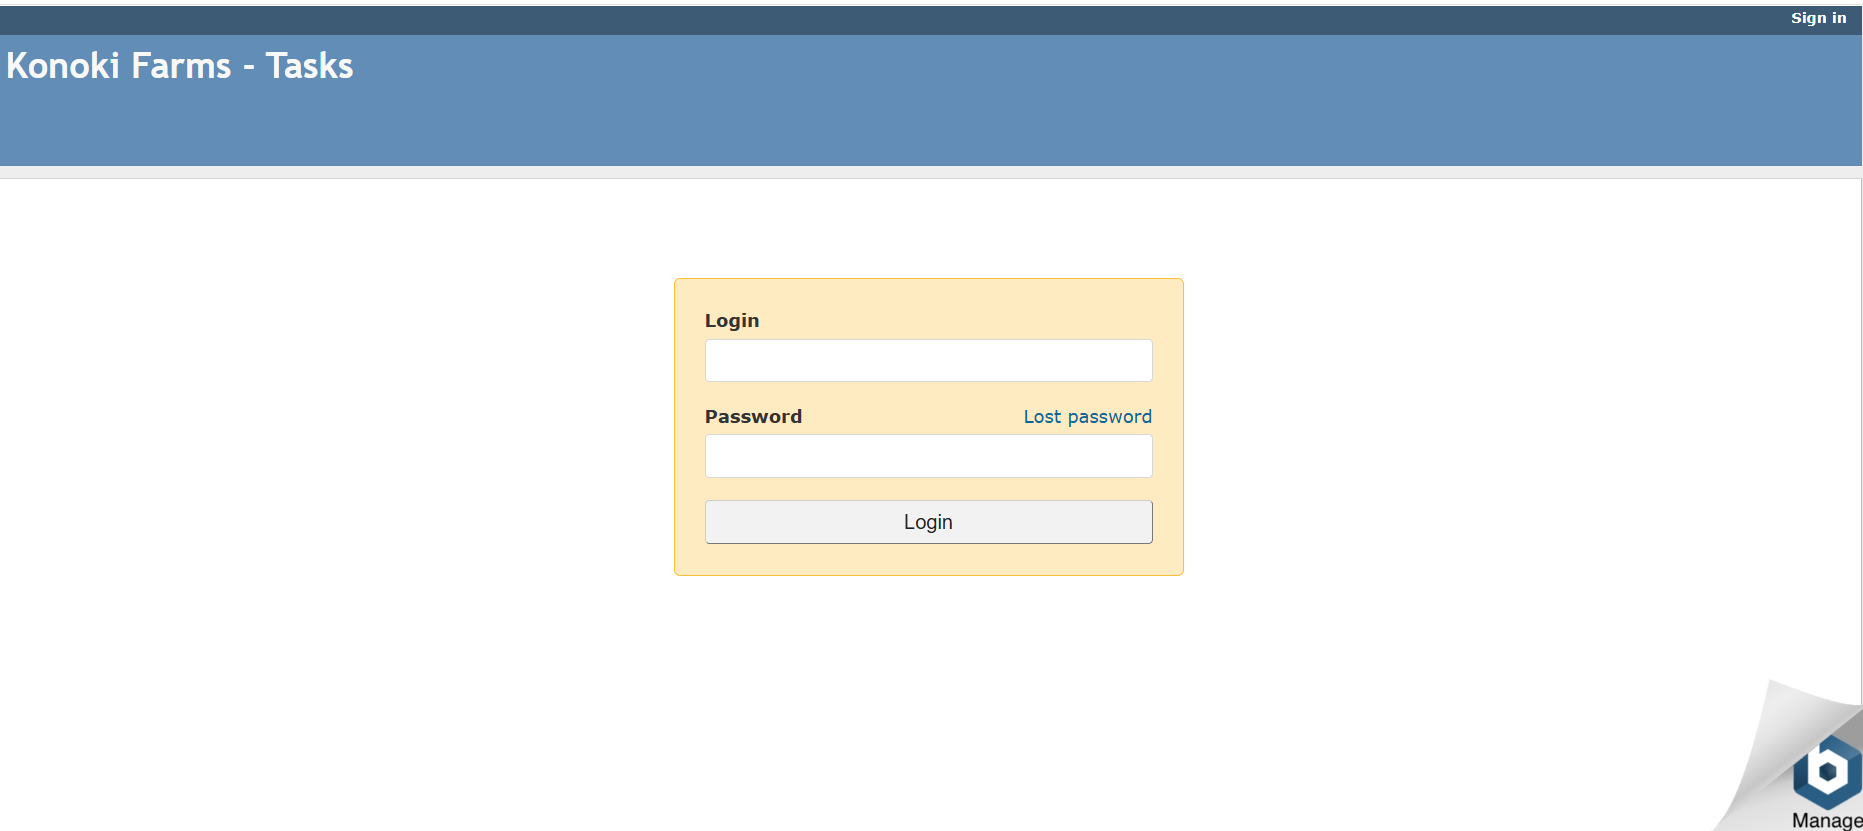
Logging In
- On the login page, you will usually find two primary fields
- Username: Enter the username provided to you by the administrator.
- Password: Enter your associated password.
- Click the "Login" or a similar button to access your Redmine account.
Initial Login and Changing Your Password
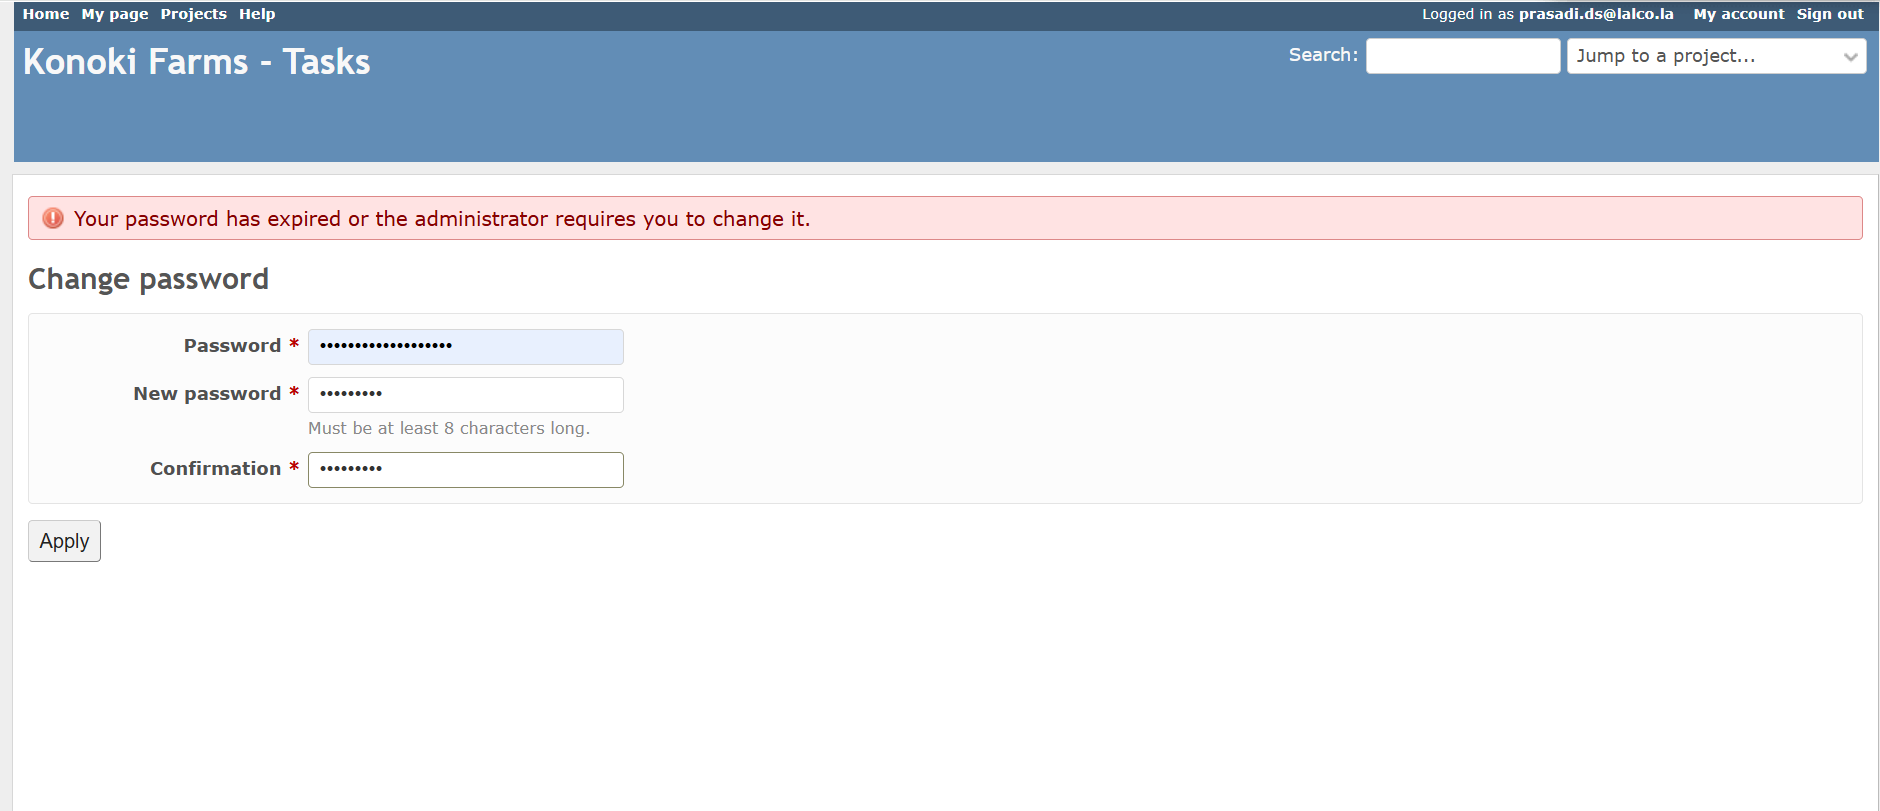
Upon your first login or when your password has expired, Redmine will typically redirect you to a "Change password" page, similar to what's shown in below image. This is an important step to secure your account.
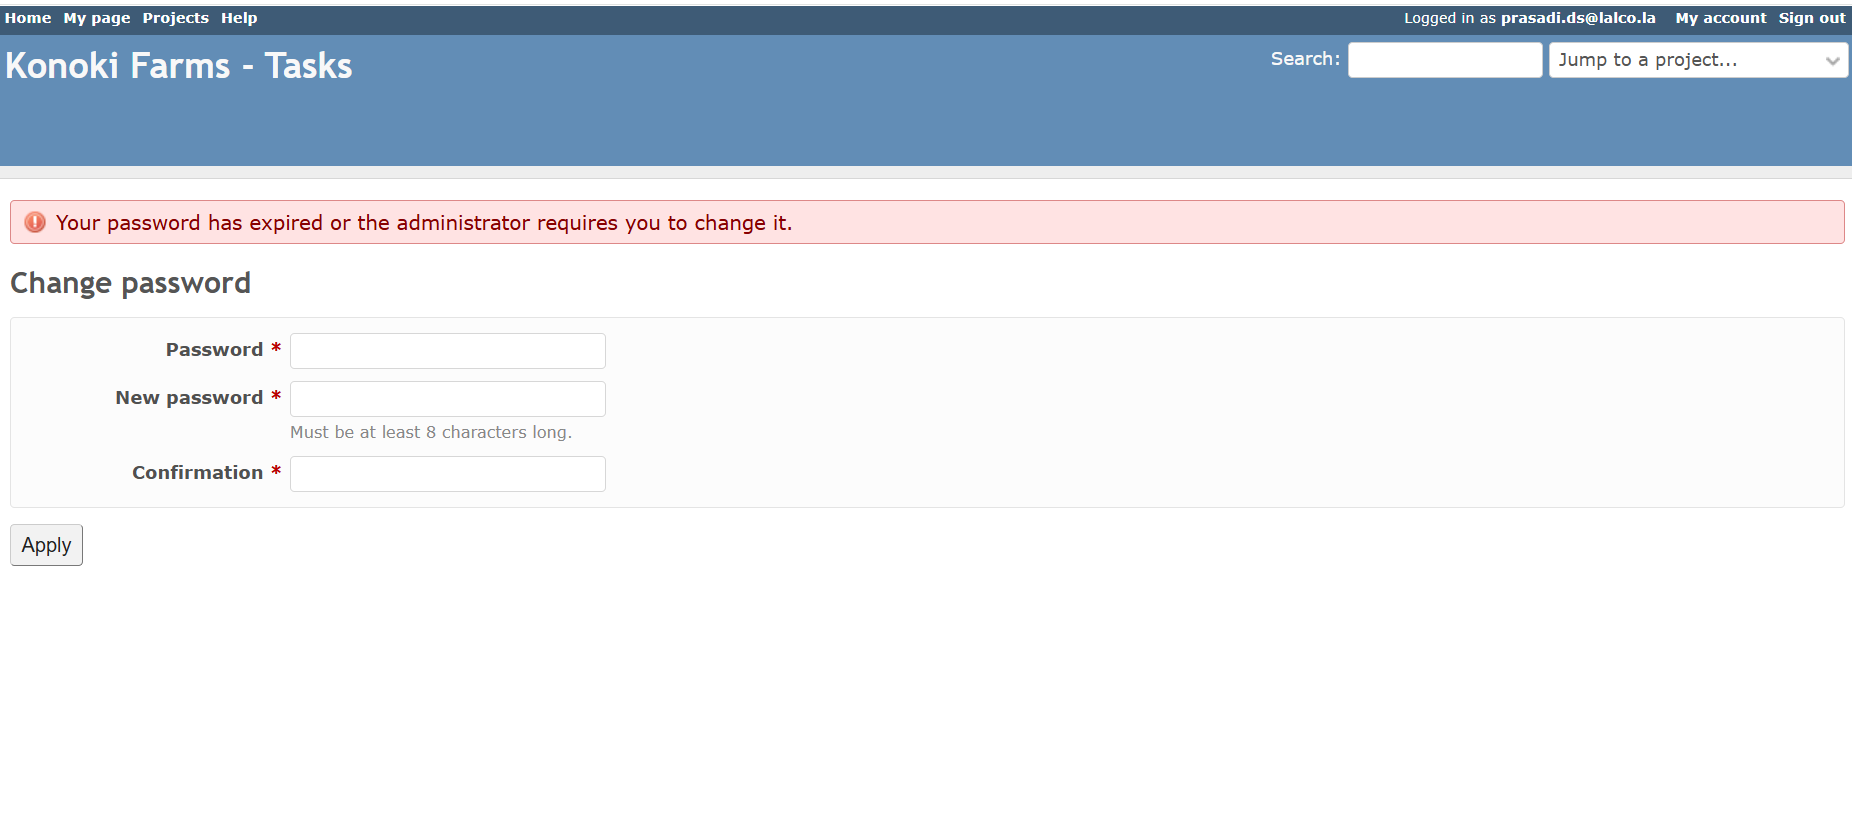
The page usually contains the following fields:
- Password (Current Password): In this field, you need to enter your current password. If this is your first login, this would be the default password provided to you by the Redmine administrator. If your password has expired, it's the password you were using before.
- New password: Here, you need to enter your desired new password. Pay attention to any password requirements mentioned on the page (e.g., minimum length, character types). In your image, it indicates "Must be at least 8 characters long." Choose a strong and unique password for security.
- Confirmation: To ensure you've typed your new password correctly, you'll need to re-enter it in the "Confirmation" field. This helps prevent types.
Steps to Change Your Password
- Locate the "Change password" page: After logging in with your initial or expired password, you should automatically be directed to this page. The message at the top, "Your password has expired or the administrator requires you to change it," confirms this.
- Enter your Current Password: In the "Password" field, type the password you just used to log in.
- Enter your New Password: In the "New password" field, type the new password you want to use. Make sure it meets any specified requirements (like the 8-character minimum shown in your image).
- Confirm your New Password: In the "Confirmation" field, carefully retype the exact same new password you entered in the previous step.
- Click "Apply": Once you've filled in all the fields correctly, click the "Apply" button (as seen in the bottom left of your image) to save your new password.
After Changing Your Password:
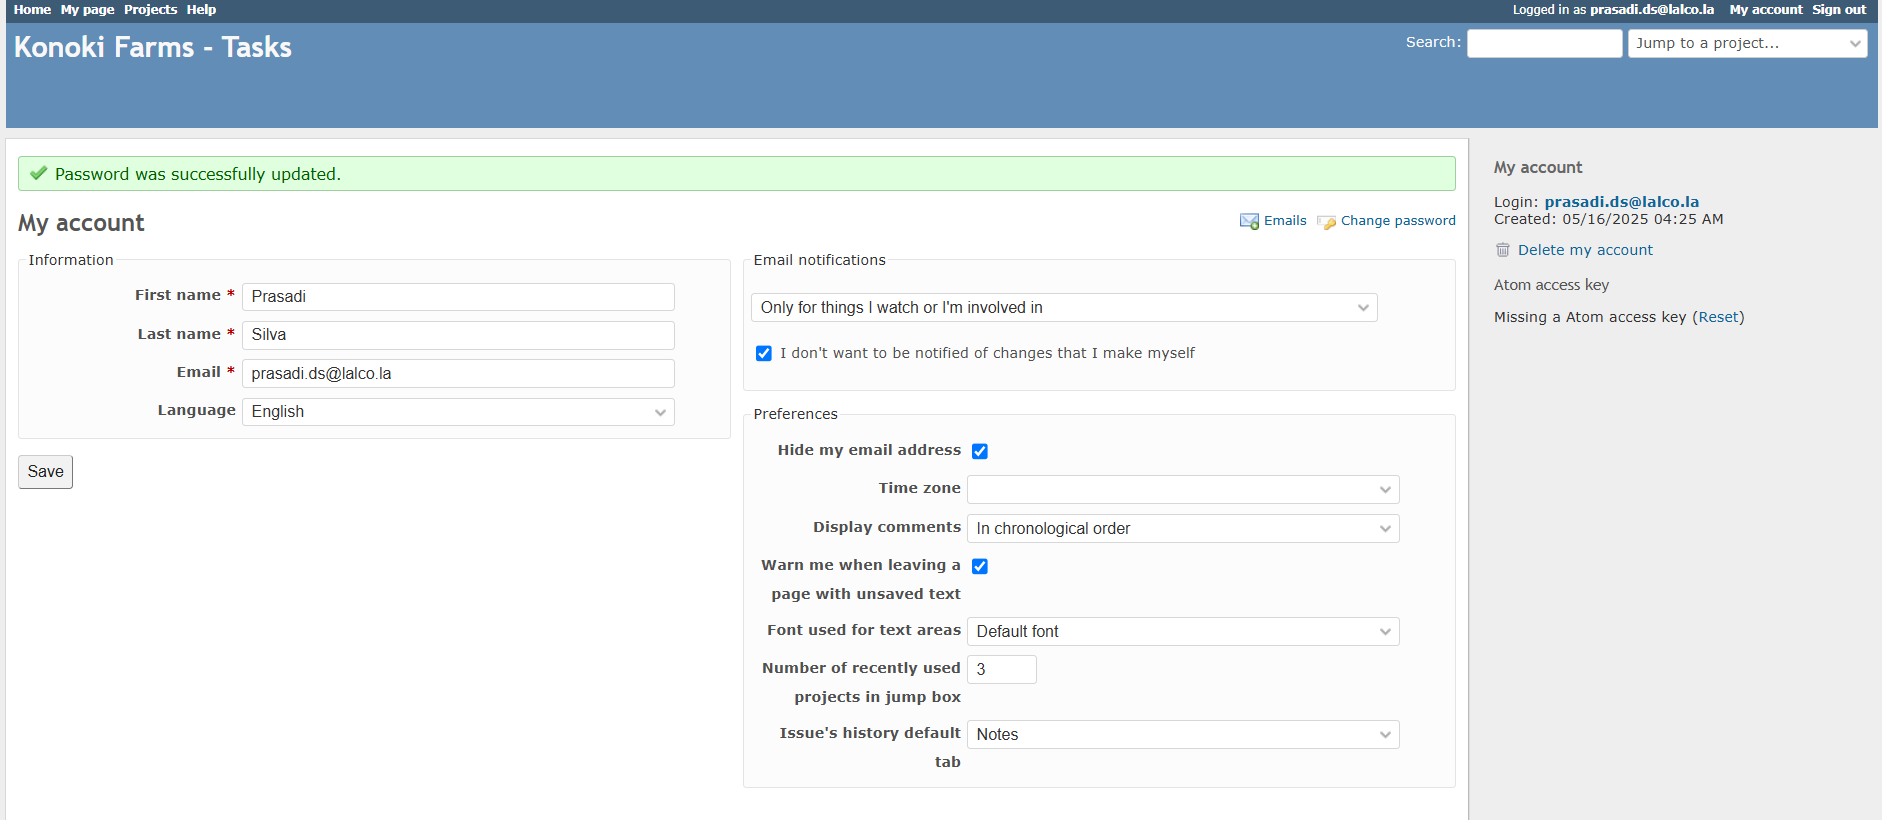
- Successful Change: If you've entered everything correctly, you should see a confirmation message indicating that your password has been successfully changed. You will then be redirected to your Redmine dashboard or the page you were trying to access.
- Password Mismatch: If the password you entered in the "New password" field doesn't match the one in the "Confirmation" field, you'll likely see an error message. In this case, re-enter your desired new password in both fields carefully.
- Password Too Short or Weak: If your new password doesn't meet the specified requirements (e.g., the 8-character minimum), you'll also see an error message. Choose a longer and more complex password.
Important Security Tips for Passwords:
- Choose a strong password: Use a combination of uppercase and lowercase letters, numbers, and symbols. Avoid using easily guessable information like your name, date of birth, or common words.
- Do not share your password: Your password is your personal key to your Redmine account. Keep it confidential.
- Consider using a password manager: Password managers can help you create and securely store complex passwords.
- Be cautious of phishing attempts: Never enter your Redmine password on unfamiliar websites or in response to unsolicited emails.
By following these steps, you can successfully change your password and secure your Redmine account. Once you've done this, you'll be able to navigate the Redmine interface as described in the previous part of the guide.

Interface Overview (General Layout):
- Once you've successfully logged in, you'll be presented with the main Redmine interface. The layout can have slight variations depending on your Redmine version and any installed themes or customizations, but generally, you'll find these key elements
Top Navigation Menu:
- Home: You are currently here, on your personal dashboard.
- My page: This might be a redundant link if "Home" already serves as your dashboard, or it could lead to a slightly different personalized view.
- Projects: Takes you to the list of all projects you can access.
- Help: Links to Redmine documentation or support resources.
- Search Bar, Logged in as, My account, Sign out, Jump to a project...:

-
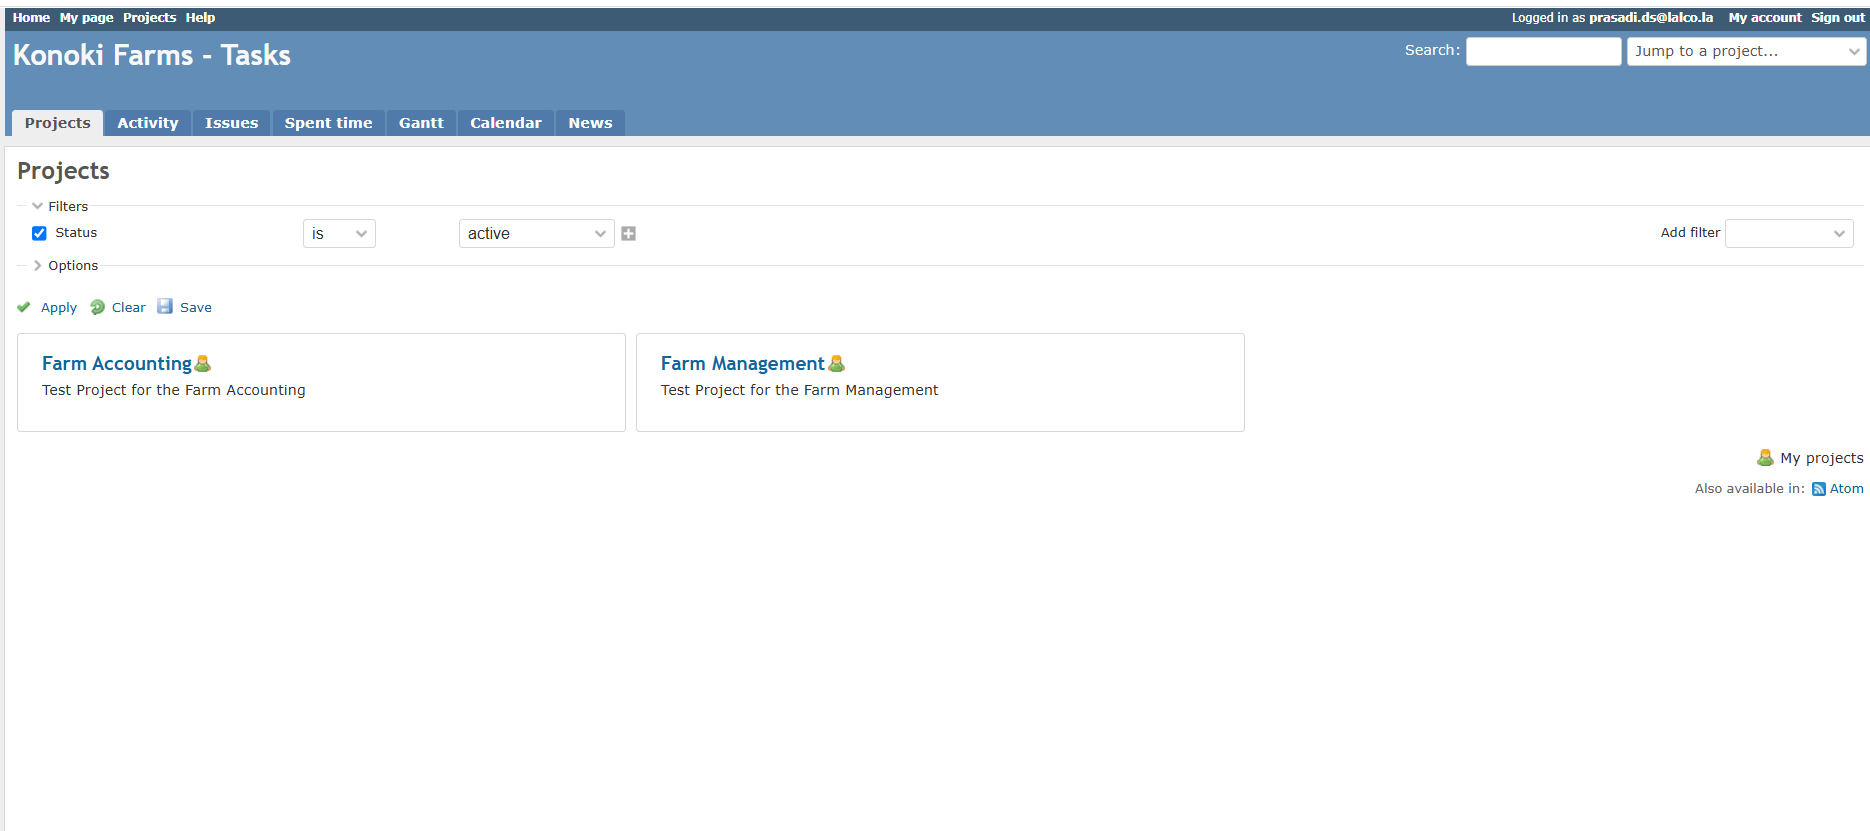
Project Listing: This is the main content area of the "Projects" page. It displays the projects you have access to. In your image, you can see two projects listed:
- Farm Accounting: With a brief description: "Test Project for the Farm Accounting." It also has a small icon next to the name (a green plant in a pot).
- Farm Management: With a brief description: "Test Project for the Farm Management." It also has a different small icon next to the name (a green leaf).
-
Filters: Located above the project listing, these allow you to filter the displayed projects based on various criteria. In your image, you can see a filter for "Status" set to "is active." You can add more filters using the "Add filter" dropdown.
- Status: Allows you to filter by the project's status (e.g., active, closed).
- Options: Provides additional filtering options.
- Apply, Clear, Save: Buttons to apply the selected filters, clear them, or save the current filter settings for future use.
-
"My projects" (Right Sidebar): This section provides a quick overview or links related to your projects. In your image, it simply says "My projects."
-
"Also available in:" (Right Sidebar): This might provide links to project feeds (like Atom) for staying updated on project activity.
Navigating and Interacting with the "Projects" Page:
- Accessing a Project: To enter a specific project and view its details, simply click on the name of the project (e.g., "Farm Accounting" or "Farm Management"). This will take you to the project's overview page, where you'll see the project-specific menu (Activity, Issues, etc.).
- Using the "Jump to a project..." dropdown: If you have many projects, this can be a faster way to navigate to a specific one. Click the dropdown and select the project you want to access.
- Filtering Projects: If you have a long list of projects, use the filters to narrow down the list. For example, you might want to see only "active" projects or projects you are specifically a member of (if that filter is available).
- To add a filter, select a criteria from the "Add filter" dropdown.
- Choose the desired value for the filter (e.g., "is" and then "active" for the "Status" filter).
- Click "Apply" to see the filtered list.
- Click "Clear" to remove all applied filters.
- Click "Save" to save the current filter settings as a custom query for future use.
-
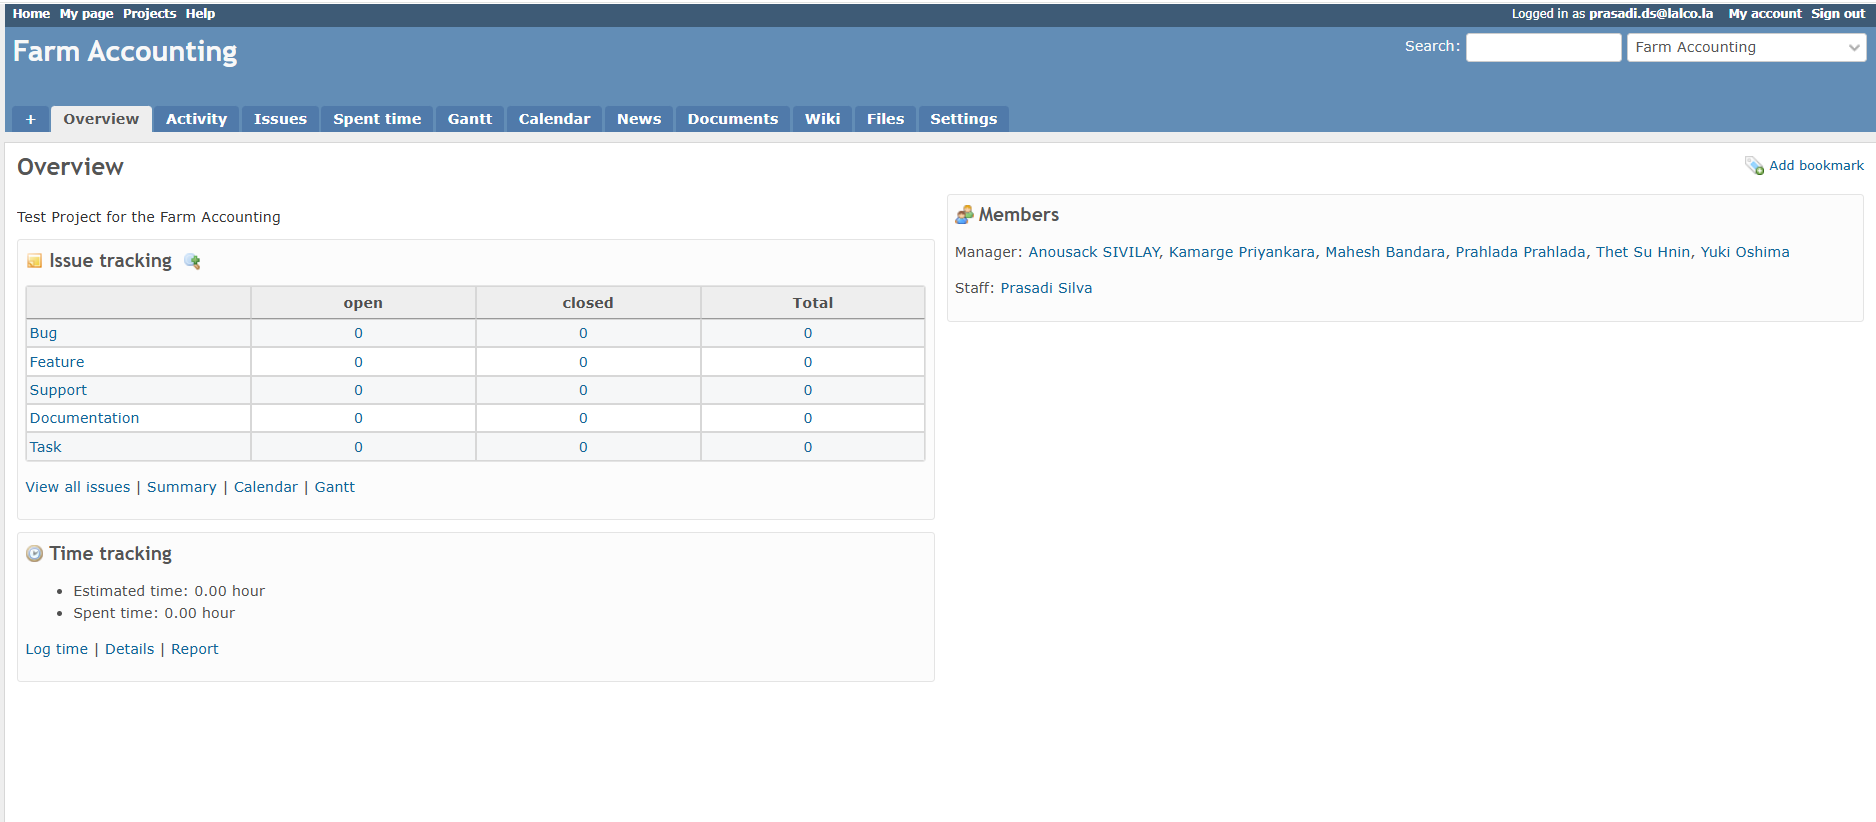
When you click on a project from the "Projects" list, you are typically taken to the Overview page of that project. This page provides a summary of the project and quick access to key information.
-
"Overview" Header: Clearly indicates that you are currently viewing the overview of the "Farm Accounting" project.
-
"Add bookmark" Link: Located on the right side, this allows you to bookmark this specific project for quicker access in the future.
-
Project Description: Below the "Overview" header, you might see a brief description of the project. In your image, it says: "Test Project for the Farm Accounting."
-
Issue tracking Block: This section provides a summary of the issues within the "Farm Accounting" project, categorized by their "Tracker" (Bug, Feature, Support, etc.) and their current status ("open," "closed," and "Total"). In your case, all counts are currently "0."
- View all issues: A link to see the full list of issues for the project.
- Summary: Might link to a more detailed issue summary or report.
- Calendar: Could link to a calendar view of issues with due dates.
- Gantt: Could link directly to the Gantt chart for the project.
-
Time tracking Block: This section displays information related to time tracking within the project. Currently, it shows:
- Estimated time: 0.00 hour (This would be the total estimated time for all issues in the project, if estimates have been entered).
- Spent time: 0.00 hour (This is the total time logged by all project members on issues within this project).
- Log time: A link to log your own time against an issue.
- Details: Might link to a more detailed breakdown of time tracking data.
- Report: Could link to time tracking reports for the project.
-
Members Block: Located on the right side, this section lists the members of the "Farm Accounting" project and their roles.
- Manager: Lists the users who have the "Manager" role in this project (Anousack Sivilay, Kamarge Priyankara, Mahesh Bandara, Prahlada Thiet, Su Hnin, Yuki Oshima).
- Staff: Lists the users with the "Staff" role
When you click "Help" and are directed to the Wiki, you can use it in several ways to find information:
-
In many Redmine installations, the "Help" menu item directly links to the project's or the global Redmine Wiki. The Wiki serves as a collaborative documentation space where users can create and share information. It's often used for:
- User Guides: Providing instructions on how to use different features of Redmine.
- Project Documentation: Detailing project-specific processes, requirements, and decisions.
- Meeting Notes: Recording outcomes and action items from meetings.
- Knowledge Bases: Storing useful information and FAQs.