
Bank Statement
1. Introduction
This document outlines the process of uploading and processing bank statements within our system. The primary goal is to automate the linking of bank statements to existing collections and create new auto-collections as needed.
2. Adding Bank Statements
There are two methods to Add bank statements:
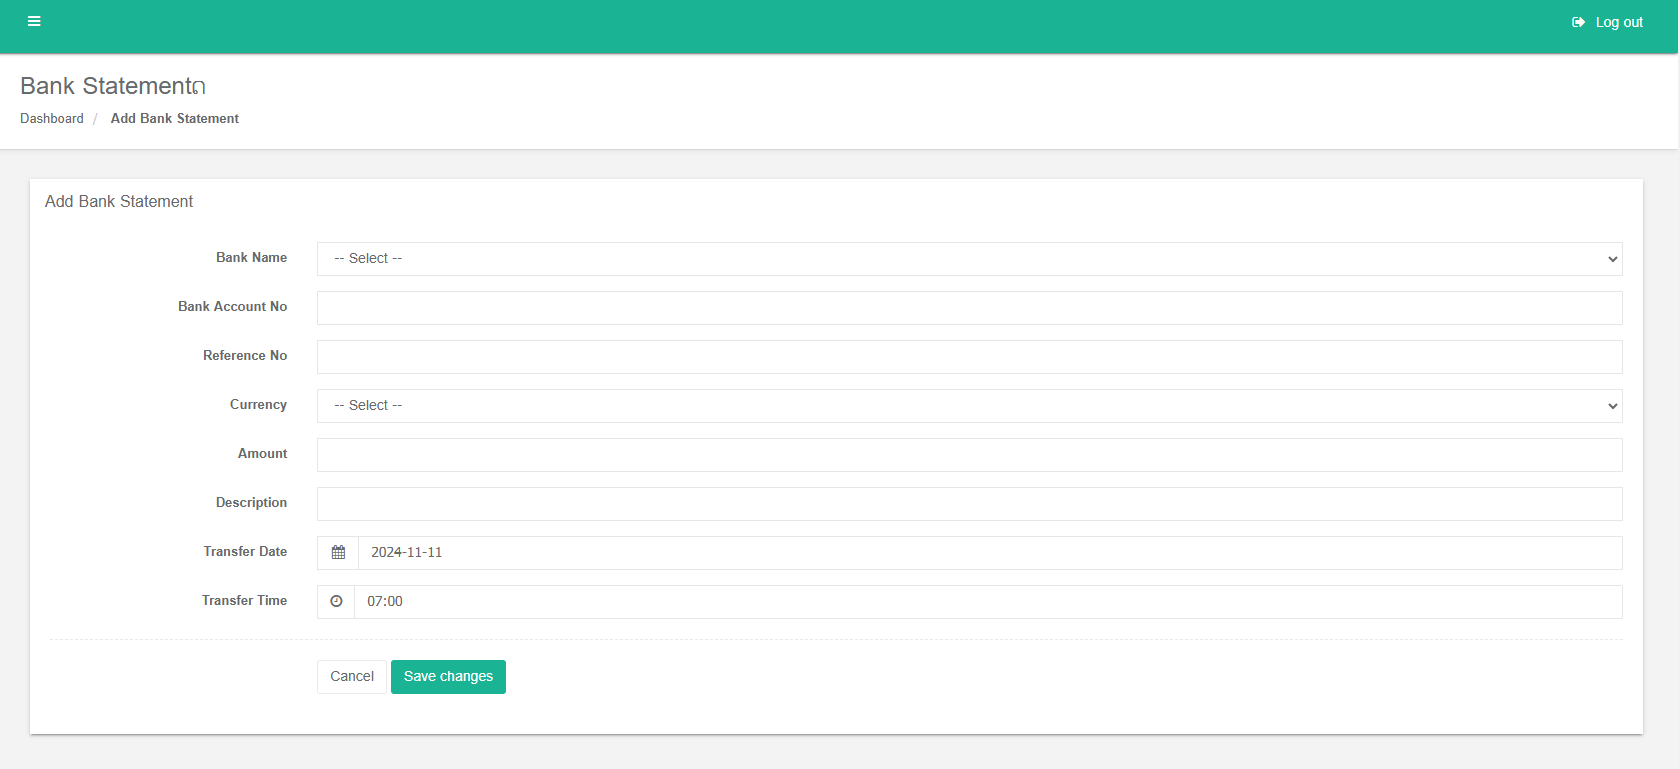
2.1 Manual Add
2.2 Upload Bank Statement
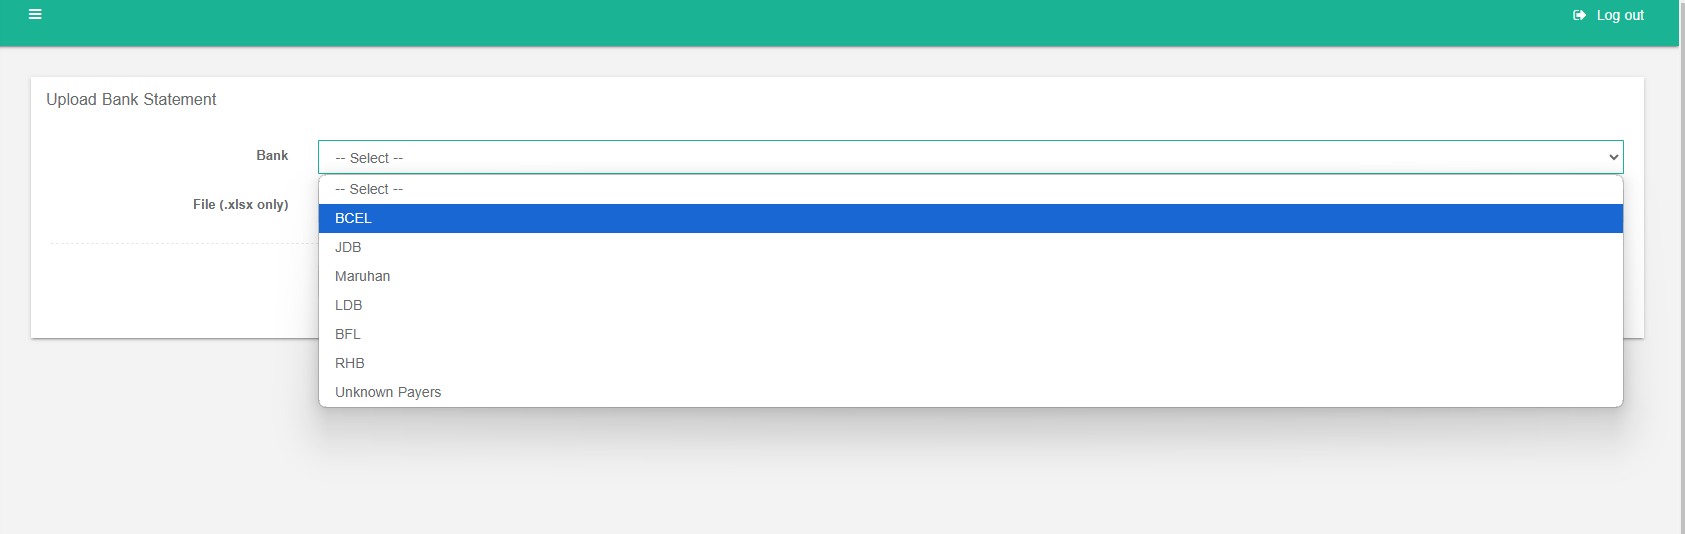
Once a bank statement is uploaded, the system will automatically perform the following checks:
- Contract Number: The transaction must match an existing contract number.
- Date: The transaction date must match the date on the contract or collection receipt.
- Currency: The transaction currency must match the contract or collection receipt currency.
- No Matching Collection:
- If no matching collection is found, an auto-collection will be created for the statement.
- The auto-collection will be automatically approved.
3. Viewing Bank Statements
Bank statements are categorized and displayed separately for credit and debit transactions. This allows for easy filtering and analysis.